Second week, lesson continued
with how to create your own online form, then editing it, and finally analyse
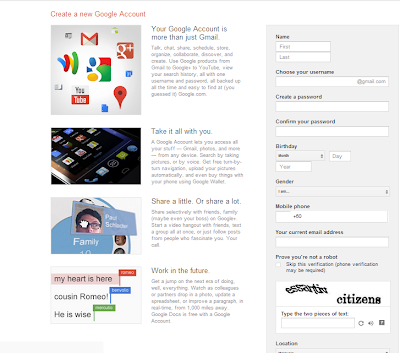
it into a table. So, a very simple first step, all we need is a G-mail account.
If you don’t’ have any, just create one.
It is in a blink of an eye.
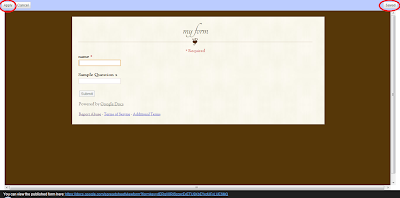
Next thing is, you need to click the Drive on the
above panel. Then, click on the create button, you’ll see a list of option, and
click on the form button. See, very simple right? This taught and benefits me
very much as I can use the knowledge in the future.
 |
| 1. Create Gmail account |
 |
| 2. Sign in into Gmail and click on the Drive |
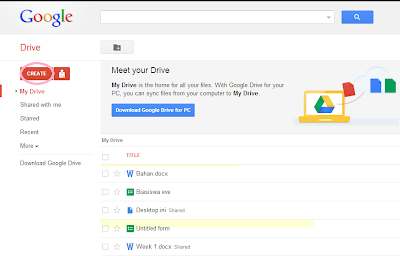 |
| 3. Click Create and choose form |
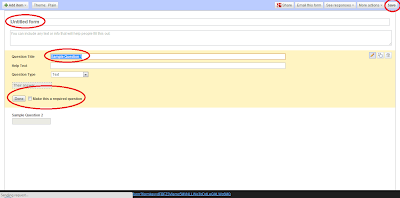 |
| 4. Fill the red circle and click save |
 |
| 5. Choose a theme and click on Apply and Save |
 |
| 6. Copy the URL (blue words) to any site you want to published the form |
Before the class ended, Mdm
Asmayati explained what we have to do in the preparation of the slideshow. Our group
was given a Form 4 & Form 5 Chemistry topic, one of each, Chemical bond for
Form 4 and Oxidation and Reduction for Form 5
These were what need to be the
content of the slideshow:
- The group member’s name
- The objective of the topic
- A simple example
- Extra information
- An animation
- A video
- A little graphic
This assignment will be passed up on
week 5.
Lesson ended


No comments:
Post a Comment